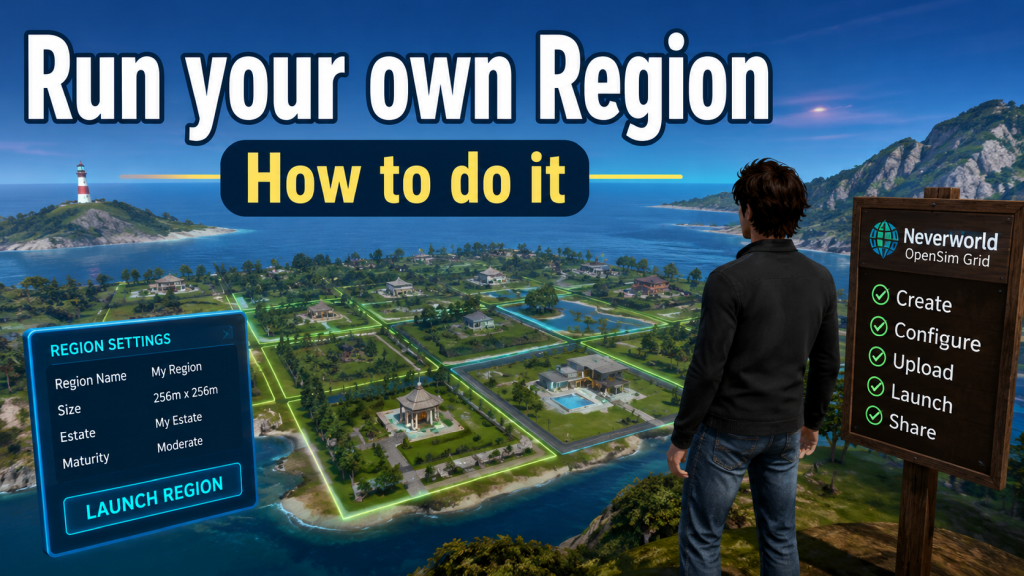
Setting Up Your Own Region on Neverworld
Neverworld Grid is a free-to-join virtual world that has been running on OpenSimulator software every day since October 2015. It bills itself as “a builder’s paradise,” and its community is largely made up of 3D content creators who build, host, and share their own spaces. If you’ve spent any time exploring the grid, sooner or later you’ll want a patch of land that is genuinely yours — somewhere to build a home, a shop, a roleplay sim, or an entire chain of islands. In OpenSim terms, that patch of land is called a region.
This article walks through what a region actually is, the two main ways to get one on Neverworld, and a step-by-step look at self-hosting your own region for free.
What a “region” is
A region is a single square of virtual land with its own coordinates on the grid map, its own building capacity (measured in “prims,” the basic building blocks of OpenSim), and its own owner. A standard region is 256 x 256 meters — 65,536 square meters. Varregions are simply larger regions made of multiple standard regions stitched together, so a 2×2 varregion is four times the size, an 8×8 is sixty-four times the size, and so on.
Every region needs a server to run on. That’s the key decision you’ll face: do you want Neverworld to host your region for you, or do you want to run it yourself from your own computer?
Two ways to get a region
Option 1: Rent land from the grid
The simplest route is to let Neverworld host the region for you. You fill out a land request, set up a recurring payment through PayPal, and the staff sets up your region — setup itself is free, and land is billed on a quarterly or monthly basis that you can cancel at any time.
Rough pricing tiers (always confirm the current rates on the grid’s “Purchase Land” page, since they change):
- Starter 1×1 region — around $7.50 per 90 days (about $2.50/month), 65,536 meters, roughly a 20,000 prim allowance, full owner rights.
- Creator region — a popular mid-tier option with a larger footprint and a bigger prim budget.
- Mini-continents and family/group bundles — multiple 3×3 regions sold together for shared projects.
- Massive varregions — up to an 8×8 (64-region) block with a 100,000-prim allowance and full rights, for people who want to build a whole world.
- Water regions — large low-cost expanses of ocean, handy for sailing and surrounding your land with sea.
This route is best if you don’t want to deal with networking, want your region online 24/7 without leaving your own machine running, or simply prefer to support the grid directly.
Option 2: Self-host your own region for free
Neverworld also offers a free region server to anyone who wants to host their own region from home. This is the “set it up yourself” path, and it costs nothing but your time, your electricity, and a bit of patience with your router. Your region only exists while your computer and the server software are running, but you get full control and unlimited regions if you want them.
The rest of this article focuses on this self-hosting route.
Before you start: check your ports
Self-hosting means other people on the grid need to be able to reach your computer over the internet, so the single biggest hurdle is networking. Sort this out first and the rest is easy.
- Confirm your ports are open. Use an online port-checker tool to test whether the ports you plan to use are reachable from outside your network.
- Open (forward) the ports on your router if they’re closed. Every router does this slightly differently; PortForward.com maintains per-router guides. You’ll typically forward the region ports and the listener port to your computer’s local IP address.
- Set up NAT loopback if needed. Some home networks won’t let a machine reach its own public IP address from inside the network. If that’s the case for you, you’ll need to enable NAT loopback (sometimes called NAT hairpinning) so your own viewer can reach your region.
- Allow OpenSim through your firewall. Make sure your operating system’s firewall permits the OpenSim program to accept connections.
A candid note echoed by experienced Neverworld hosts: firewall and port problems cause the vast majority of self-hosting headaches. It’s frustrating, but once it’s working, it stays working — and then you’re running your own land entirely free.
Step-by-step: creating your region
- Download the Neverworld-configured OpenSim package
Neverworld provides a version of OpenSim already configured to connect to their grid (and set up for Gloebits, the in-world currency system). Grab the current version from the grid’s “Self Host Regions” page — recent builds have been labelled something like Neverworld OpenSim 9.3.1 with Gloebits, with the same version also mirrored on GitHub. There’s also a walkthrough video linked on that page if you prefer to follow along visually.
- Unzip it and find the bin folder
Extract the downloaded zip to a sensible location on your computer. Inside you’ll find a folder called bin — this is where the important files live.
- Configure your ports in OpenSim.ini
Inside bin you’ll find a file called OpenSim.ini. Open it and set the listener port to something unique — different from the port your region itself will use. A common convention is a listener port of 8050 and region ports of 9000, 9001, and so on.
The important rule is that each region you create needs its own dedicated, opened port. If you plan to run three regions, plan for three region ports.
- Pick an empty spot on the map
Before you create the region, decide where on the grid it will sit. The cleanest way to do this is to log into Neverworld with the Firestorm viewer, open the world map, and find an empty area — regions have coordinates, so look for a gap north or south of existing land and note the coordinates you want (for example, something like 10042, 10042).
- Run OpenSim.exe
In the bin folder, find OpenSim.exe and run it. A console window opens and, the first time, interviews you about the region you’re creating. It will ask for, in roughly this order:
- Region name — whatever you’d like to call your sim.
- Location — the map coordinates you chose (e.g. 10042×10042).
- Region port — one of the ports you opened earlier.
- Estate name — make one up; if your avatar is “Sim Dailie,” you might call it “Dailie Estate.”
- Estate owner — that’s you.
The software then creates the region, assigns it a unique UUID, and brings it online. When it’s finished, you should be able to see your new region on the map and teleport to it.
- Test it
Teleport to your new region in the viewer. If you land there and can build, you’re done — congratulations, you’re a region host.
Troubleshooting
If the region shows up on the map but you can’t actually reach it, it’s almost always networking:
- Re-check your ports. Confirm each region port and the listener port are genuinely open and forwarded to your machine.
- Re-check NAT loopback. If your own viewer can’t reach the region but others can (or vice versa), loopback is the usual culprit.
- Re-check your firewall. Make sure it isn’t silently blocking OpenSim.
- Fix the external IP. In the bin folder, open the Regions folder and then Regions.ini. If the ExternalHostName value is set to SYSTEMIP and things aren’t connecting, try replacing it with your actual public IP address.
A region entry looks roughly like this:
[My Paradise]
RegionUUID = f15def6-aa47-4f85-92ca-5894e57dabb6
Location = 9990,10039
SizeX = 256
SizeY = 256
SizeZ = 256
InternalAddress = 0.0.0.0
InternalPort = 9002
AllowAlternatePorts = False
ExternalHostName =
Which option is right for you?
Choose renting from the grid if you want your land online around the clock, don’t want to run a server, or would rather not wrestle with router settings. It’s inexpensive — often just a few dollars a month — and the grid handles the technical side.
Choose self-hosting if you want full control, the ability to spin up as many regions as you like, and a zero-dollar hosting bill — and you’re willing to get past the one-time networking setup. Just remember your regions are only reachable while your computer and the server software are running.
Either way, once your region exists, the fun part begins: terraforming the land, laying out builds, and connecting it to the rest of Neverworld.
Note: You may find that using this information and the information on Neverworld in conjunction with Chat GPT or Claude AI might actually help you do this more effectively step by step.
Details such as pricing, software version numbers, and download links change over time. Before you begin, check the current information on the Neverworld Grid website (neverworldgrid.com) and their community Discord, and consider joining their Facebook group or following the grid’s blog for the latest instructions.







Leave a Reply